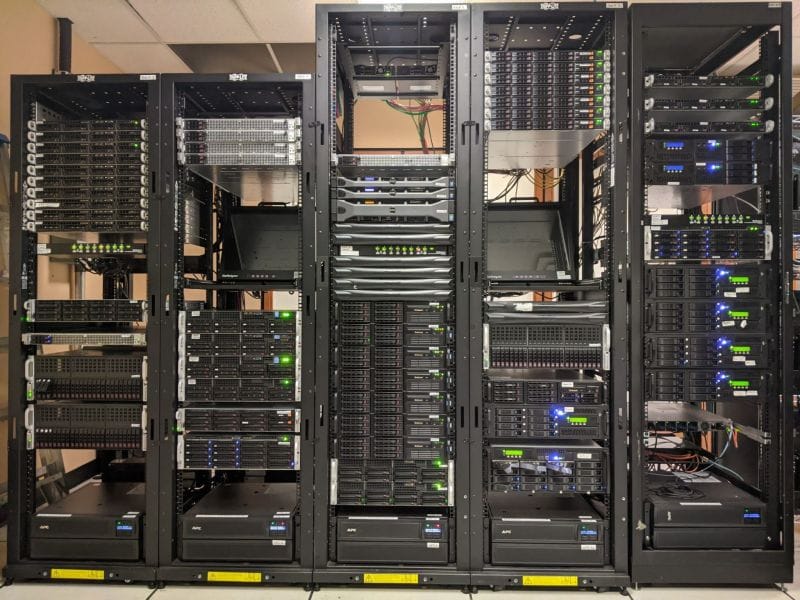
At my office, I have multiple ESXi VM Servers with several guests hosted. I am using VEEAM B&R software for backup & replication. I have created Replicas of all my primary servers to DR site on secondary replica server using Veeam. I have hen scheduled replication to run Daily in night. Whenever any disaster occurs either at server hardware level or guest OS level, I simply fail over to replica using Veeam, and when primary server/guest becomes available, I simply Fail Back to Production using Veeam console and all changes replicate back to production from replica. 🙂 Replication can be scheduled to run continously but not recommened, Try to set 6/12/24 hours schedule instead to update replicas.
I will distribute this article in following sections.
1- One time simple backup of VM guest using Veeam
2- Adding daily backup job
3- Restoring VM from backup to production
4- Adding replication job between primary and D.R site
5- Test Failover to REPLICA & FAILBACK to PRIMARY (PRODUCITON)
6- VEEAM Email Notification Configuration
.
1- ONE TIME SIMPLE BACKUP OF VM GUEST USING VEEAM
If you want to take simple backup of your guest OS, simply follow this.
After fresh installation of VEEAM, first define its Backup Folder where it will save the images.
Adding Backup Repositories to store images
# Open VEEAM console, Goto Infrastructure
# Right click on Backup Repositories and select Add Backup Repository
# New Window will appear asking for Backup Name, rename it to some meaningful name , for example if you have External USB Harddrive attached, name it External USB Storage and click NEXT.
# Now it will ask storage type, Select Microsoft Windows server and click NEXT
# In Server, Select This Server and click NEXT
# Now it will ask for Folder Location where it will save the veeam images, Simply browse it to the folder where you want to save the images, for example H:\images and click NEXT
# on vPowerNFS window click NEXT
# On Review window, click NEXT to continue select FINISH
ADDING your Virtual Server in VEEAM
# Open VEEAM console, Goto Virtual Machines
# Right Click and select Add Server
# A new window will popup, asking for virtual server type, Select appropriate server, for example VMware vSphere, and select NEXT,
# Now it will ask virtual server IP or DNS name, I always prefer to connect via IP instead of DNS. Enter IP address of your VM server and click NEXT
# Now enter your user id password of virtual server and click NEXT.
# It will show you the summary of server, click FINISH
As showed in the images below . . .
Now that you have created Backup Repository and added your first virtual server into veeam, its time to take our first backup.
Open VEEAM console, Goto Virtual Machines, and select your VM Server, on right window, you will see your virtual guest machines.
Either select one machine or all, right click and select VEEAMZIP
Now Select the storage where you want to place veeam backup image, select and click on OK, it will start backup the guest VM to the backup repository folder.
.
.
2- ADDING DAILY BACKUP JOB
To do automatic daily backup of your important vm guests , for example daily in night at 1:00 AM, You have to add JOB ,
# Open VEEAM console,
# Goto Virtual Machines , Select your desired guests, right click and select Add to Backup Job / New Job and select NEXT
# Enter any meaningful name for this job, for example Daily Backup in Night @ 1:00 AM and select NEXT
# Select your desire Virtual Machine(s) from the list and select NEXT
# Select your backup repository for example External USB HDD and select NEXT
# On Guest Processing, simply select NEXT
# On schedule window, Click on Run the job automatically, Now select Daily at this time and select your desired time , e.g: 1:00 AM you can also select it run on weekly basis, periodically or whatever is best for your environment and select CREATE.
# Click on FINISH. (Also click on Run the job when I click Finish if you want to run the job immediately)
As showed in the images below . . .
.
.
3- RESTORING VM from Backup to Production using VEEAM
To restore any VM from VEEAM backup,
# Open VEEAM console, Goto
To be continued . . .
.
.
4– ADDING REPLICAITON JOB between Primary & DR Site
Replication is another great feature of VEEAM. With replication you can always have an ready to user REPLICA of your selected or all Production Virtual Guests. Replication can be scheduled to run on continuous or scheduled timings. For example I have replication schedule to replicate all the servers on daily at night to secondary DR site. To create Replicas of your production VM guests, You should have
1- Primary VM Server with ESXi or Hyper-V
2- Secondary VM Server with ESXi or Hyper-V (REPLICA SERVER with same ESXI or HYPER-V installation and enough storage space same or above as production server)
3- VEEAM B&R application either Physically installed on any OS like Windows 7 or virtually at DR /PRI Site. I have installed it at DR site.
Let’s start Replicating 😉
# Open VEEAM console, ADD both servers in VEEAM > Virutal Machines section.
# On Primary Server, Right click on your guest machine(s) you want to replicate to REPLICA server and select Add to replication job / New and select NEXT
# Enter any meaningful name for this job, for example Daily Replication in Night @ 1:00 AM and select NEXT
# Select your desire Virtual Machine(s) from the list and select NEXT
# In destination, select your Secondary server (Replica Server) and select NEXT
# In Job Settings window, select your backup repository for example External USB HDD and select NEXT
# On Guest Processing, simply select NEXT
# On schedule window, Click on Run the job automatically, Now select Daily at this time and select your desired time , e.g: 1:00 AM you can also select it run on weekly basis, periodically or whatever is best for your environment and select CREATE.
# Click on FINISH. (Also click on Run the job when I click Finish if you want to run the job immediately)
As showed in the images below . . .
To view status of replication, Open Veeam console , goto Backup & Replication / Jobs , select Replication. On right window, you will see the job you created in earlier stage. Right click on it and select Statistics and you will see something like below . ..
.
5- Test FAILOVER to REPLICA & FAILBACK to PRIMARY (PRODUCITON)
FAILOVER TEST
# Open VEEAM console,
# Goto Backup & Replication
# Goto Replicas, On Right Side window, you will see your REPLICATED VM Guests,
# Right click on your desired guest you want to failover to, and select FAILOVER NOW
# It will again ask for which machines you want to fail over, select your required guest machine(s) and select Next
# In Restore Reason, type reason why you want to failover (for record purpose , if you want to track later why you or other admin used FAILOVER), Click Next and FINISH. Veeam will auto power ON the guest on DR server,
As showed in the images below . . .
.
For test purpose, Create few folders or files on Replica Guest Server.
As showed in the images below . . .
FAILBACK TO PRODUCTION TEST
Now we will switch back to Production Server (Failback to production).
.
# Open VEEAM console,
# Goto Backup & Replication
# Goto Replicas, On Right Side window, you will see your REPLICATED VM Guests with (ACTIVE) caption and Green Play Icon.
# Right click on your desired guest you want to failback to production, and select FAILBACK TO PRODUCTION NOW
# It will again ask for which machines you want to fail BACK, select your required guest machine(s) and select Next
# In Destination , select Failback to the original VM
# In summary, it will show you the Details of the guest, Select Power on VM after restoring and click Finish
As showed in the images below . . .
.
.
After FAILBACK complete, You will see that Guest OS on DR REPLICA server get shutdown and automatically powered ON at Primary Server
As showed in the images below. . .
Now open Your GUEST OS at production server, and you will see the changes here that you made at REPLICA server 🙂
.
.
.
6- VEEAM Email Notification Configuration
If you want to be notified when the veeam complete its backup or failed, Configurie Email Notification in VEEAM and add them in JOB.
See the images below . . .
Now Add it in your JOB.
.
REPORT SAMPLE received on EMAIL


