
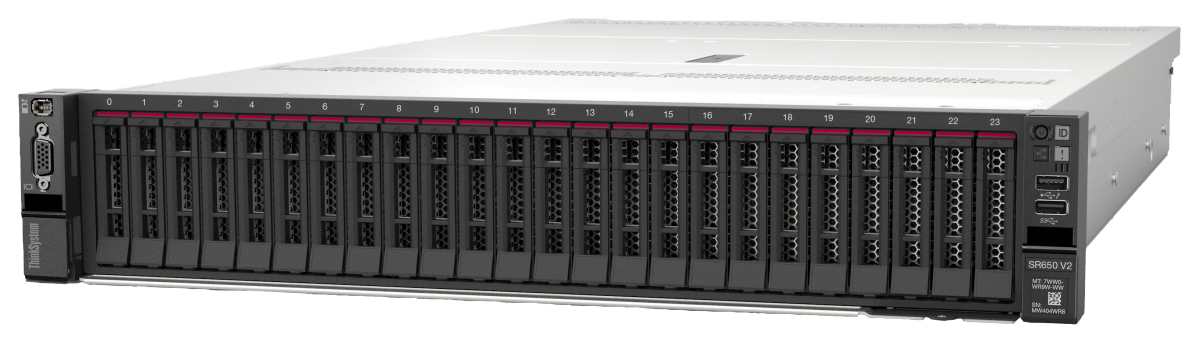
Recently one of our Lenovo SR650’s disk got faulty. It had 14 x 1.2 TB 10k SAS disks. As a long term solution & to avoid any urgency, we decided to remove 2 disks (faulty one for replacement & one for cold spare backup to be used by same or other similar servers).
Once we re-created new Raid.-10 & rebooted the server , boot screen was showing below error

We tried to follow the Lenovo Note which instructed to go into Setup->System Settings->Recovery->Disk GPT Recovery and set to “Automatic.” but still the error didn’t sorted. To settle it on Server Bios level, we performed following steps
- Update SR650 UEFI Firmware ( Lenovo Download Link )
- Removed Raid Config, Re-create Raid Config with Full Initialization
- Full power cycle the server once above is done.
This sorted the Bios screen error regarding GPT.
But once we started the Vmware ESXI 6.5.x installation , it was failing (between 5% and 8%) with the following error …
“partedUtil failed with message: Error: The primary GPT table states that the backup GPT is located beyond the end of disk. This may happen if the disk has shrunk or partition table is corrupted. … Error: Can’t have a partition outside the disk! BLAH BLAH BLAH …”


Solution # 1
Boot with any windows ISO ( Must have the RAID controller driver or the OS should have in-built drivers, in my case, windows server 2019 had the raid drivers). You can also use Linux base Boot OS .
Re-create the partition , Format & Booom. Afterwards just boot from ESXI ISO/CD/USB/Networkboot , and the ESXI will install fine.
Solution # 2 (Quick & Recommended for admins)
During ESXi installer at anywhere ,
Press Alt-F1 (which will bring you to shell window asking for credentials)
Use following credentials
- ID: root
- Password: No password. Just press enter & you can use the CMD’s to sort the issue
Issue the below CMD which will show you list of disk device names that can be managed by partedUtil
1 | ls -ltrh /vmfs/devices/disks |

** Note the disk ‘identifier’ that we want to fix. In my case it was 6.5 TB partition in which we wanted to install the esxi.
Now issue the below cmd
1 | partedUtil mklabel /dev/disks/naa.600062b2031e00402a165add7ff9c3ac msdos |
This overwrited the brooked partition table. Now return to the installer screen and continue.
This time, esxi installation went fine without errors.


